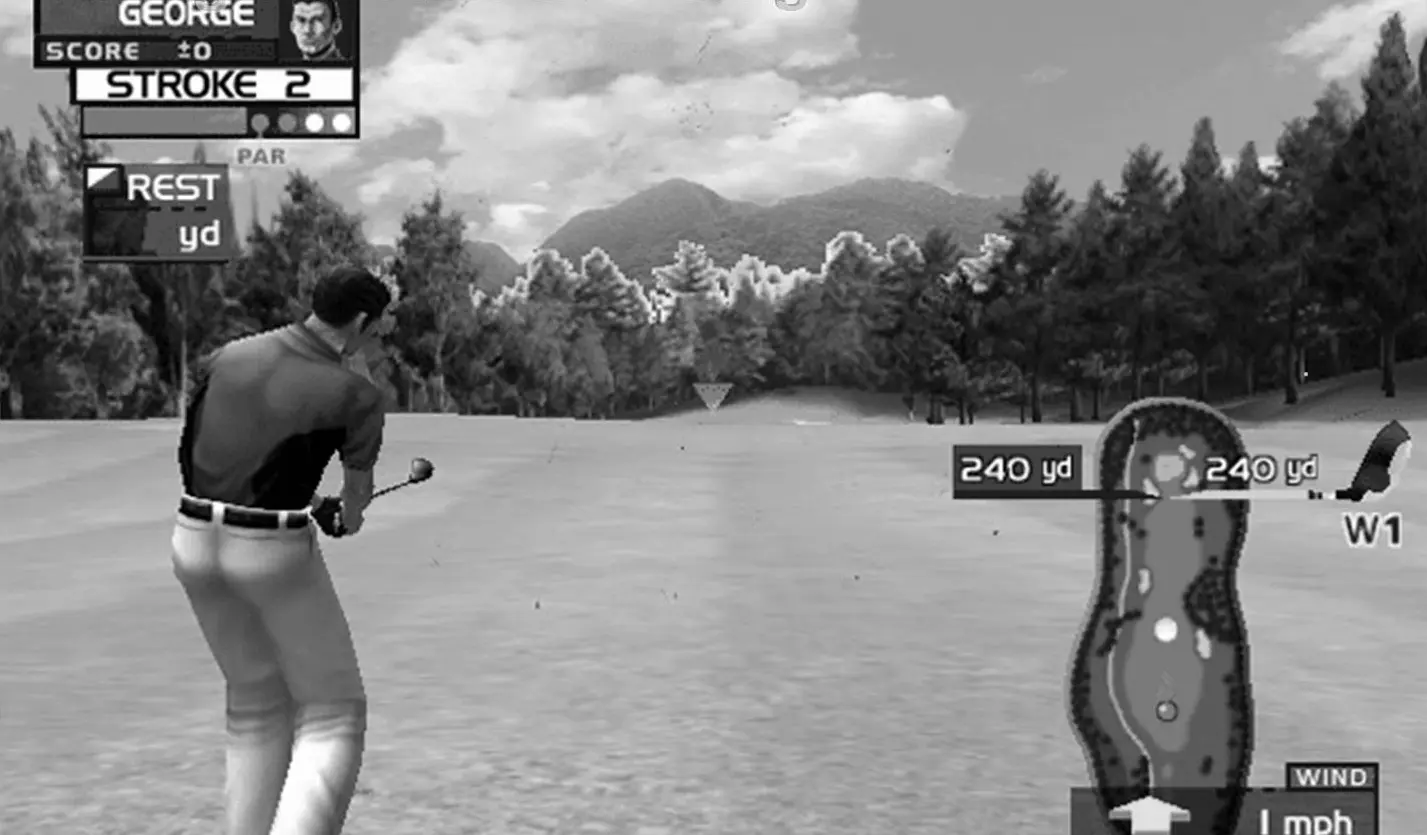
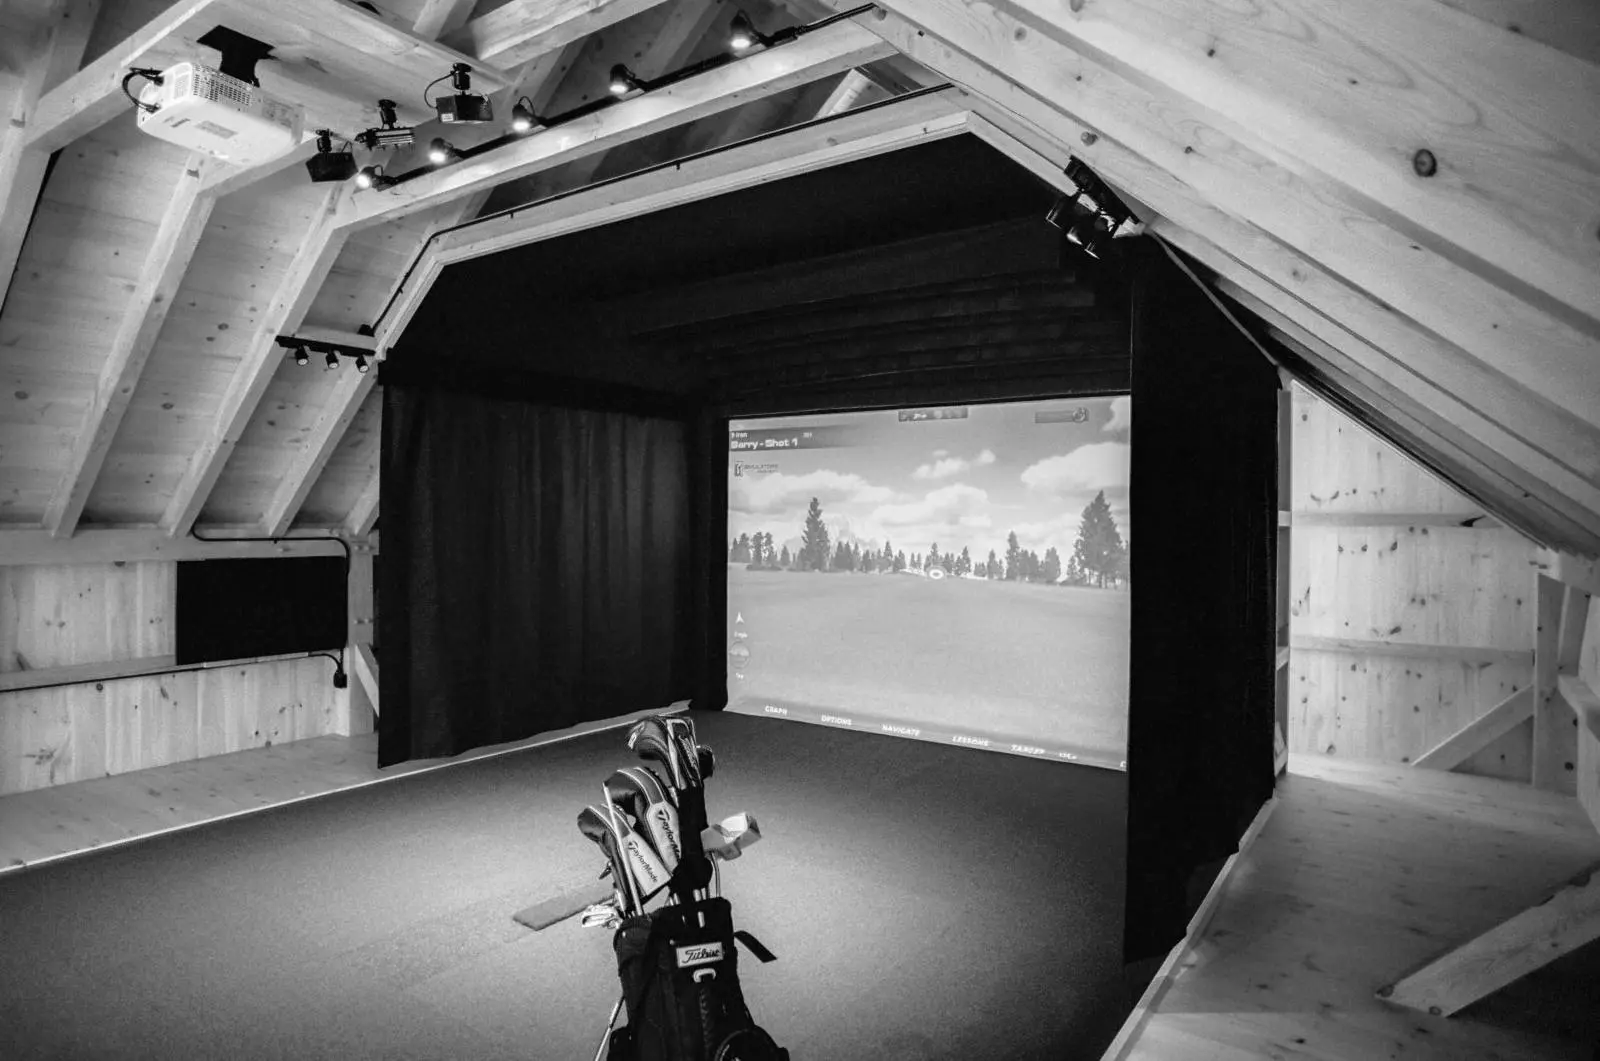
Before diving into the specifics, it’s essential to grasp the basic components of a golf simulator setup. Generally, a golf simulator includes a hitting mat, projector, impact screen, and tracking system. These components work together to provide a realistic golfing experience, simulating everything from the flight of the ball to the feel of the swing. Each of these elements plays a role in determining the amount of space you’ll need. The arrangement and size of these components directly influence how much room is necessary to create a seamless and immersive golfing environment.
Minimum Space Dimensions
The dimensions of the space you’ll need depend on the type of simulator you choose and your personal swinging style. Different simulators have varied space requirements, so it’s important to consider the specifications of the model you’re interested in. However, there are some general guidelines that can help you get started.
- Width: The minimum width for a golf simulator setup is typically around 10 feet. This allows enough room for you to swing freely and for the simulator equipment. A wider space ensures comfort and prevents any accidental damage to walls or nearby objects during your swing.
- Height: The ceiling height is crucial, especially if you have a taller swing. A minimum of 9 feet is recommended to ensure you can swing comfortably without hitting the ceiling. Lower ceilings can restrict your movement and may lead to an inaccurate simulation of your golfing technique.
- Depth: The depth of your space should be at least 12 feet. This provides enough room for the hitting mat, the golfer, and the screen or net to catch the ball. Adequate depth is essential to ensure the ball can travel freely and be captured accurately by the simulator.
Ideal Space Dimensions
While the minimum dimensions can work, having a larger space can significantly enhance your experience. More space allows for greater flexibility and comfort, accommodating different types of swings and more advanced simulator setups. If possible, aim for these ideal dimensions:
- Width: 15 feet or more to allow for both right and left-handed golfers. A wider area ensures that all players, regardless of their dominant hand, can have a seamless experience without feeling cramped.
- Height: 10 feet or more to accommodate players with a high swing. Higher ceilings provide the freedom to adjust your swing style and technique without restrictions, which can improve your practice sessions.
- Depth: 15 feet to ensure ample space for the simulator setup and to prevent any damage from stray balls. With more depth, you can also experiment with different types of shots and fully utilize the capabilities of your simulator.
Additional Considerations
Beyond the basic dimensions, consider additional factors that can influence your space requirements. These factors can greatly impact your overall experience and the functionality of your golf simulator setup.
- Swing Style: If you have a particularly wide or tall swing, you might need extra space. Tailoring your space to your swing style ensures that you can practice naturally without adjusting your technique to fit the environment.
- Left or Right-handed Use: Ensure there’s enough width to switch between left and right-handed players comfortably. This is particularly important if multiple people will be using the simulator, as it can enhance the user experience for everyone involved.
- Equipment and Furniture: Factor in any additional equipment, such as seating or storage for clubs. Having a dedicated area for accessories not only keeps your space organized but also makes it more convenient to access your equipment during practice.
Choosing the Right Location for Your Golf Simulator
Selecting the right location within your home is as important as understanding the space requirements. The location you choose will influence not only the practicality of your setup but also your overall enjoyment and ease of use. Here are a few common locations people choose for their golf simulators:
Garage
Garages are a popular choice for golf simulators because they often have ample space and high ceilings. This setting can provide a dedicated area away from the main living spaces, minimizing disruptions. Just make sure the garage is insulated and has suitable flooring to withstand the setup. Proper insulation and flooring ensure comfort and durability, making your practice sessions more enjoyable.
Basement
Basements can offer a secluded environment perfect for focusing on your game. They provide a private space where you can concentrate without distractions. However, be mindful of ceiling height, as many basements have lower ceilings. Addressing potential ceiling height issues before installation can save time and prevent future adjustments.
Spare Room
If you have a spare room that can accommodate the dimensions required, it can be a convenient option. This allows for easy access while keeping your equipment in a dedicated space. Ensure the room has enough ventilation and lighting for an optimal experience. Proper ventilation and lighting enhance the atmosphere, making your practice sessions comfortable and realistic.
Custom-built Spaces
For those who are serious about their golf simulation, building a custom space can provide the perfect environment tailored to your needs. This approach allows for adjustments to dimensions, soundproofing, and lighting. Custom spaces offer the flexibility to design the perfect setup that meets all your requirements and preferences. Investing in a custom-built space can elevate your golfing experience, providing a professional-level practice area.
Equipment Placement Tips
Once you’ve chosen the location and ensured you have adequate space, the next step is to arrange your equipment effectively. Proper placement of your equipment is crucial for maximizing the functionality and realism of your simulator.
Setting Up the Hitting Area
The hitting area is where you’ll spend most of your time. Position the hitting mat so that it’s centered with the screen or net. This alignment ensures that your shots are accurately captured and displayed on the simulator. Ensure there’s enough space behind the mat for you to swing freely. Adequate space behind the mat prevents any hindrance during your swing, allowing for a more natural and effective practice session.
Positioning the Screen and Projector
Place the impact screen or net at the far end of the room, ensuring it is securely fastened to handle the impact of golf balls. A sturdy setup prevents damage and maintains the integrity of your simulator over time. The projector should be placed at a height that doesn’t interfere with your swing, usually mounted on the ceiling. Ceiling mounting the projector ensures it remains out of the way while providing a clear and uninterrupted display.
Tracking System Setup
The tracking system should be placed in a way that accurately captures your swing and ball trajectory. Proper placement of the tracking system is vital for obtaining precise data and feedback on your performance. Follow the manufacturer’s guidelines for optimal placement, which typically involves aligning the sensors with your hitting mat. Accurate alignment with the hitting mat ensures that the tracking system functions effectively, providing valuable insights into your game.
Enhancing Your Golf Simulator Experience
To truly enjoy your golf simulator, consider these additional enhancements. These enhancements can elevate your practice sessions and create a more immersive and enjoyable environment.
Lighting
Good lighting is essential for both gameplay and preventing eye strain. Proper lighting improves visibility, allowing you to focus better on your game. Consider installing adjustable lighting to control brightness levels based on your preference. Adjustable lighting provides flexibility, enabling you to create the ideal atmosphere for different times of day or types of practice.
Soundproofing
If your golf simulator is in a shared space, adding soundproofing can minimize noise disruption to the rest of the house. This is especially important in homes where quiet is needed in other areas. Use soundproof panels or heavy curtains to absorb sound. These materials help contain the noise within the simulator area, providing a more peaceful environment for both you and others in the house.
Flooring
Choose a durable flooring material that can withstand the wear and tear of a golf simulator. Flooring should be able to handle the repetitive motion and impact of golf practice. Rubber or turf flooring are popular choices that provide cushion and reduce noise. These materials offer both durability and comfort, enhancing the overall quality of your practice sessions.
Final Thoughts
Creating a golf simulator at home can be a rewarding investment for avid golfers. It allows you to practice and enjoy the game regardless of weather or time constraints. By understanding the space requirements and carefully planning your setup, you can enjoy a realistic and enjoyable golfing experience all year round. The effort you put into planning and setting up your simulator will pay off in the quality of your practice and enjoyment. Remember, the key is to ensure you have adequate room to swing freely and accommodate all the necessary equipment. Happy golfing! With the right preparation and setup, your home golf simulator can become a favorite spot for honing your skills and entertaining friends and family.