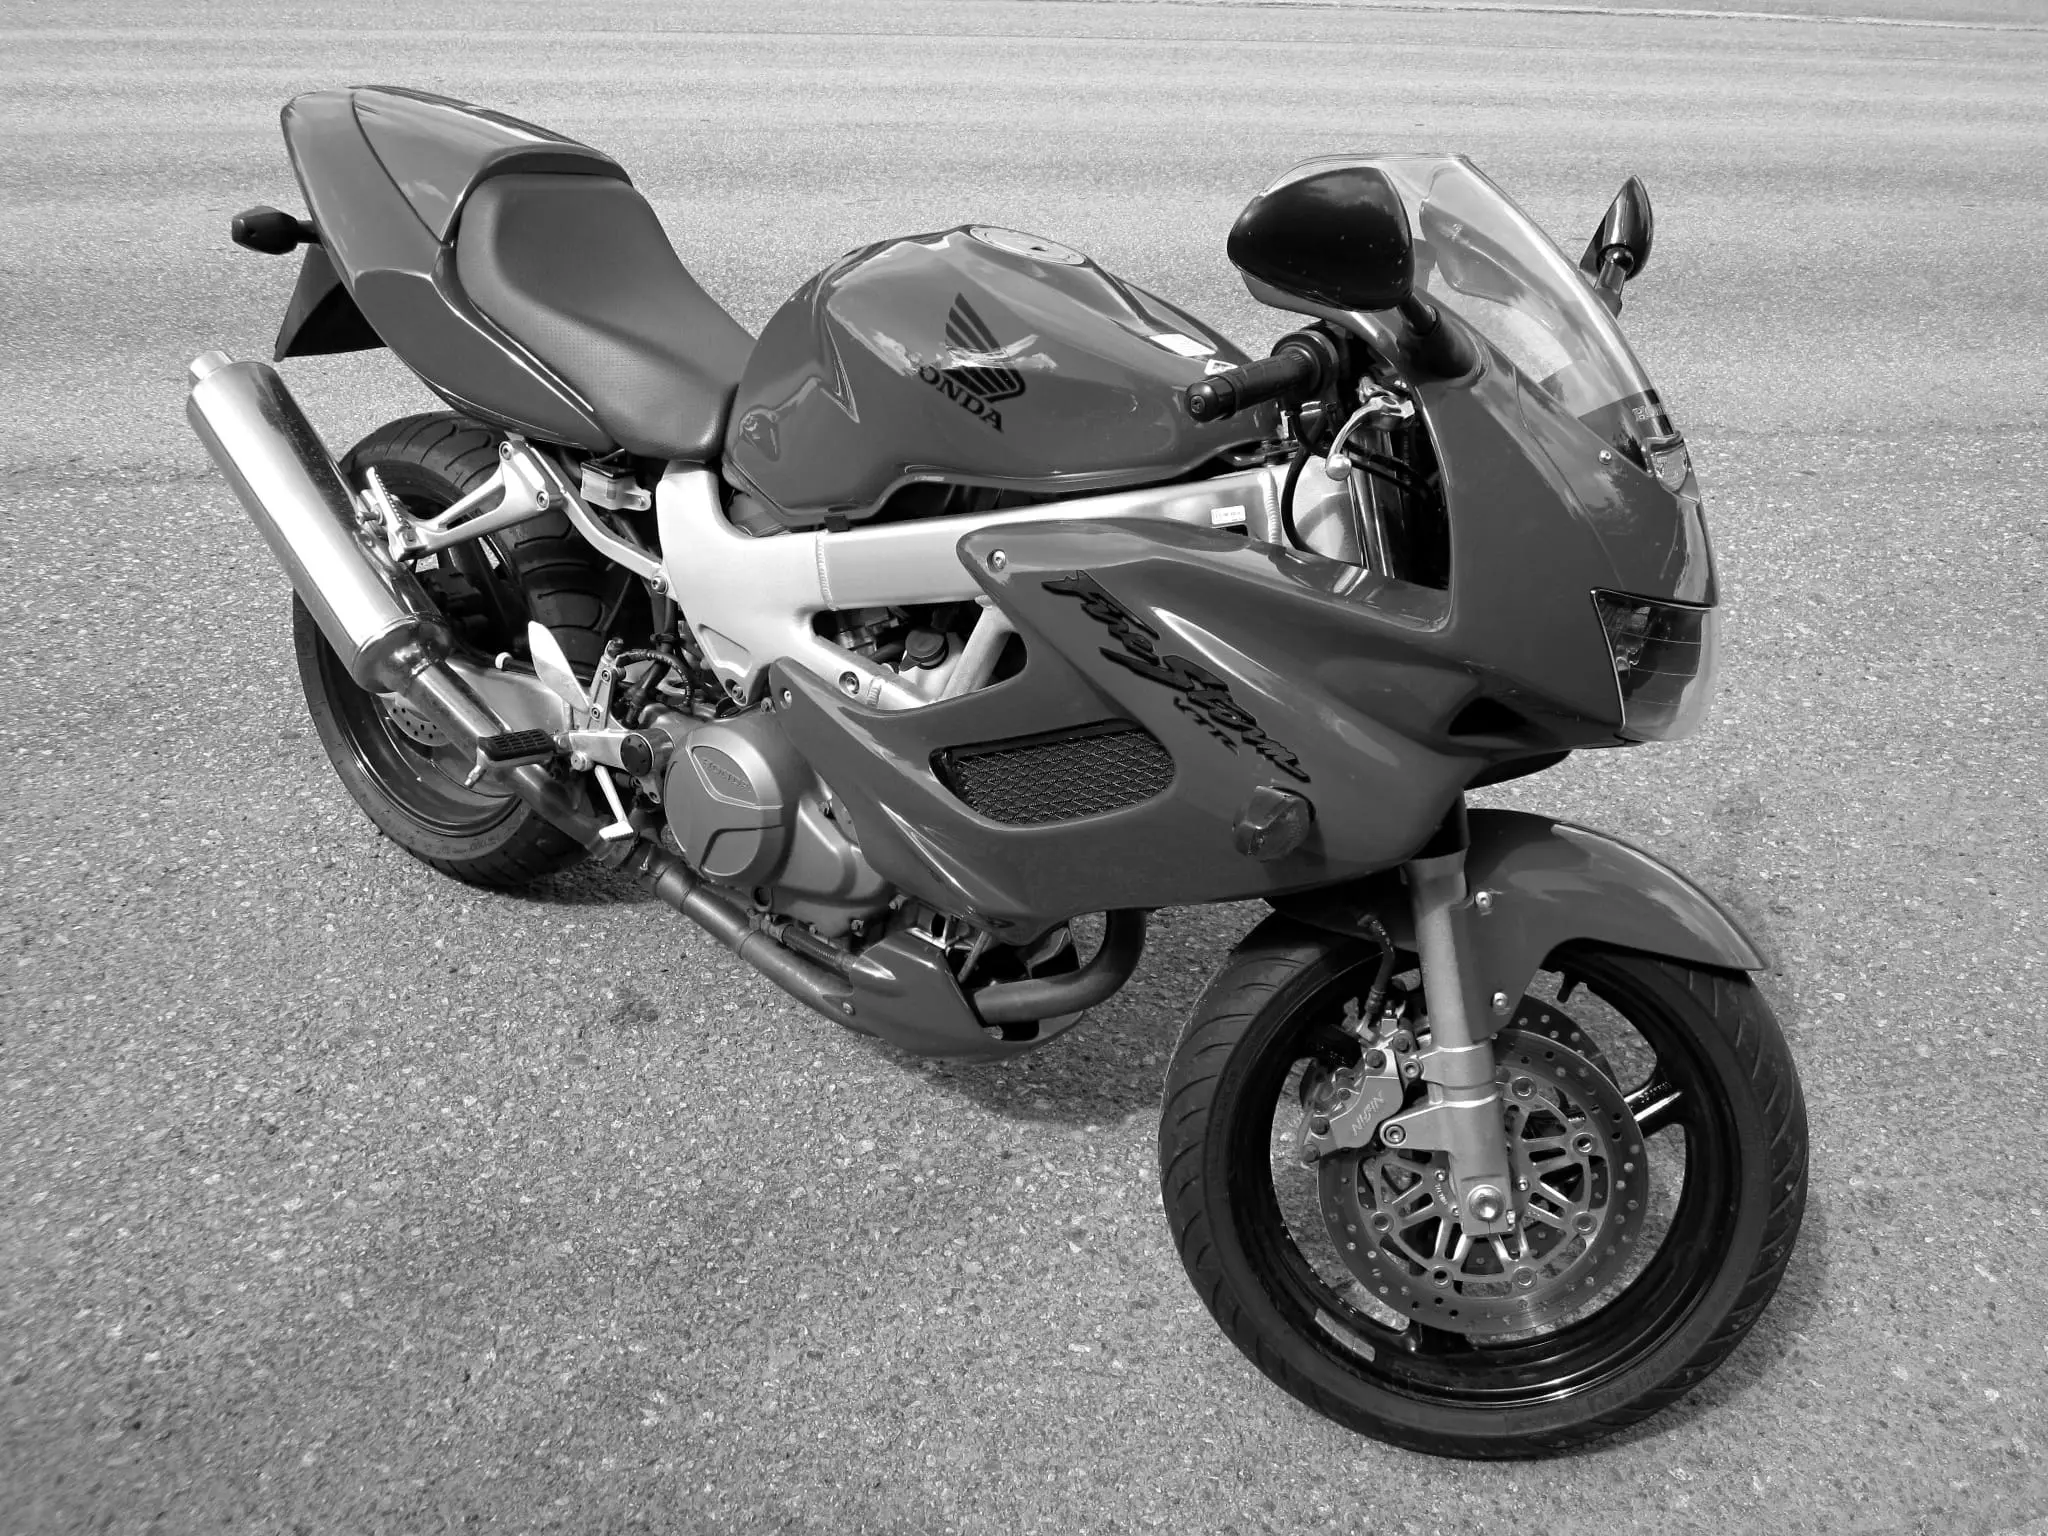
Installing the petcock on a 1998 Honda VTR motorcycle can seem daunting, but with the right tools and a bit of patience, it’s a task you can accomplish on your own. Whether you’re replacing a faulty petcock or installing a new one, this guide will walk you through the process step by step.
What You Will Need
Before diving into the installation, gather all necessary tools and materials. You’ll need a new petcock, a set of screwdrivers, a wrench set, and a clean cloth. Ensuring you have everything ready will make the installation process smoother and more efficient.
Step-by-Step Installation Guide
Step 1: Prepare Your Motorcycle
Begin by ensuring your motorcycle is on a stable surface. It’s crucial to work in a well-ventilated area and have your bike on a stand to prevent any movement. Safety comes first, so wear gloves and eye protection.
Step 2: Drain the Fuel Tank
For safety reasons, you need to drain the fuel tank before starting the installation. Locate the fuel valve and turn it off. Use a suitable container to catch the fuel as you carefully drain it. This step prevents fuel spillage during the installation.

Step 3: Remove the Old Petcock
With the fuel tank drained, use your wrench to remove the bolts securing the old petcock. Carefully pull it away from the tank, ensuring you don’t damage any surrounding parts. Use a clean cloth to wipe away any debris or old gasket material from the tank surface.
Step 4: Install the New Petcock
Position the new petcock against the tank, ensuring it aligns correctly. Secure it in place with the bolts, tightening them with your wrench. Ensure the petcock is snug but avoid overtightening, which could damage the threads.
Step 5: Refill the Fuel Tank
Once the new petcock is installed, you can refill the fuel tank. Open the fuel valve to allow fuel to flow through the system. Check for any leaks around the petcock to ensure a proper seal.
Step 6: Test the Installation
Start your motorcycle and let it idle for a few minutes. Observe the petcock area for any signs of leakage. If everything appears secure, take your bike for a short ride to ensure smooth operation.
Final Thoughts
Installing a petcock on your 1998 Honda VTR motorcycle doesn’t have to be a complex task. By following these steps, you can ensure a proper installation, improving your bike’s performance and longevity. If you encounter any issues or feel uncertain, consulting a professional mechanic is always a wise choice.
Whether you’re a seasoned rider or a motorcycle enthusiast, this guide aims to make petcock installation accessible and straightforward. Remember, patience and attention to detail are key to a successful installation. Happy riding!