As the winter chill subsides, the thought of diving into your swimming pool becomes increasingly appealing. But before you can enjoy the refreshing embrace of the water, there’s a crucial task at hand.
You need to open your swimming pool after winter.
This process involves more than just removing the pool cover and jumping in. It’s a meticulous procedure that ensures the safety and longevity of your pool.
From pool water testing to equipment checks, each step is vital. It’s about guaranteeing that your pool is clean, safe, and ready for the season ahead.

This guide will walk you through the process. It will provide a comprehensive, step-by-step approach to opening your swimming pool after winter.
Whether you’re a seasoned pool owner or a novice, this guide will be beneficial. It will cover everything from basic tasks to more complex aspects like balancing chemical levels.
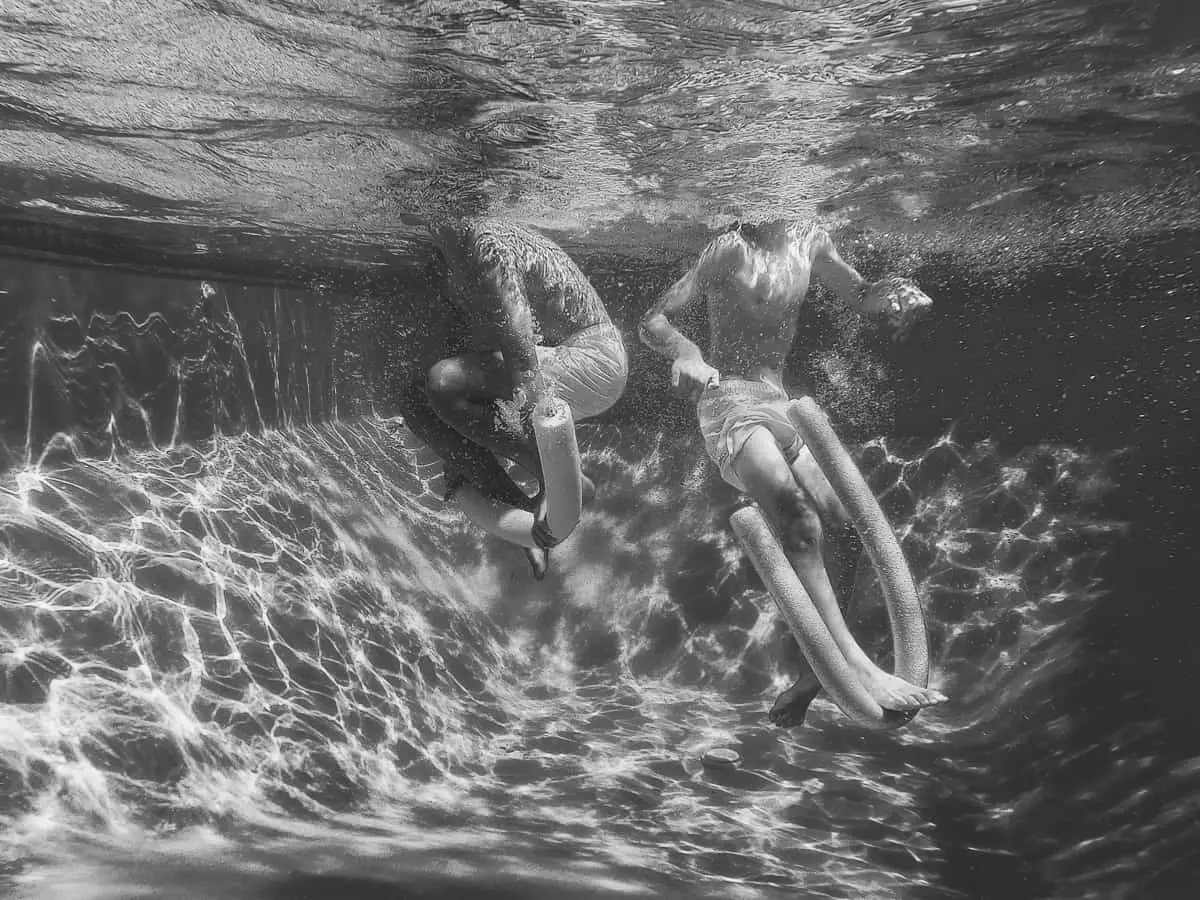
So, let’s dive in. Let’s prepare your swimming pool for a season of fun, relaxation, and enjoyment.
Preparing for Pool Opening
Opening your swimming pool after winter starts with thorough preparation. An organized approach leads to better results and fewer headaches.
Before diving into tasks, gather all necessary supplies and equipment. This preparation ensures you’re not caught off-guard mid-process.
Here’s a quick checklist to help you get organized:
- Pool cover pump
- Pool brush
- Pool vacuum
- Skimmer net
- Water testing kit
- Pool chemicals
- Lubricants for equipment fittings
- Safety gear
Next, check the weather forecast. It’s best to begin when temperatures consistently stay above freezing. Colder conditions could complicate the process.
Remember to budget sufficient time. Opening a pool is not an hour-long task. Expect to spend a day or even a weekend, especially if new to the process.
Lastly, if in doubt, don’t hesitate to reach out for professional assistance. Sometimes expert advice can prevent costly mistakes.
Assessing the Situation
Before you start physical tasks, take a moment to assess your pool’s condition. Inspect the area surrounding your pool for any noticeable changes or damage from the winter.
Check for signs of excessive debris or standing water that might need removal. Pay attention to any unusual occurrences such as sinkholes, erosion, or algae blooms, which may need immediate attention.
While inspecting, note any wear or damage to the pool structure itself. Early detection can save both time and money in repairs.
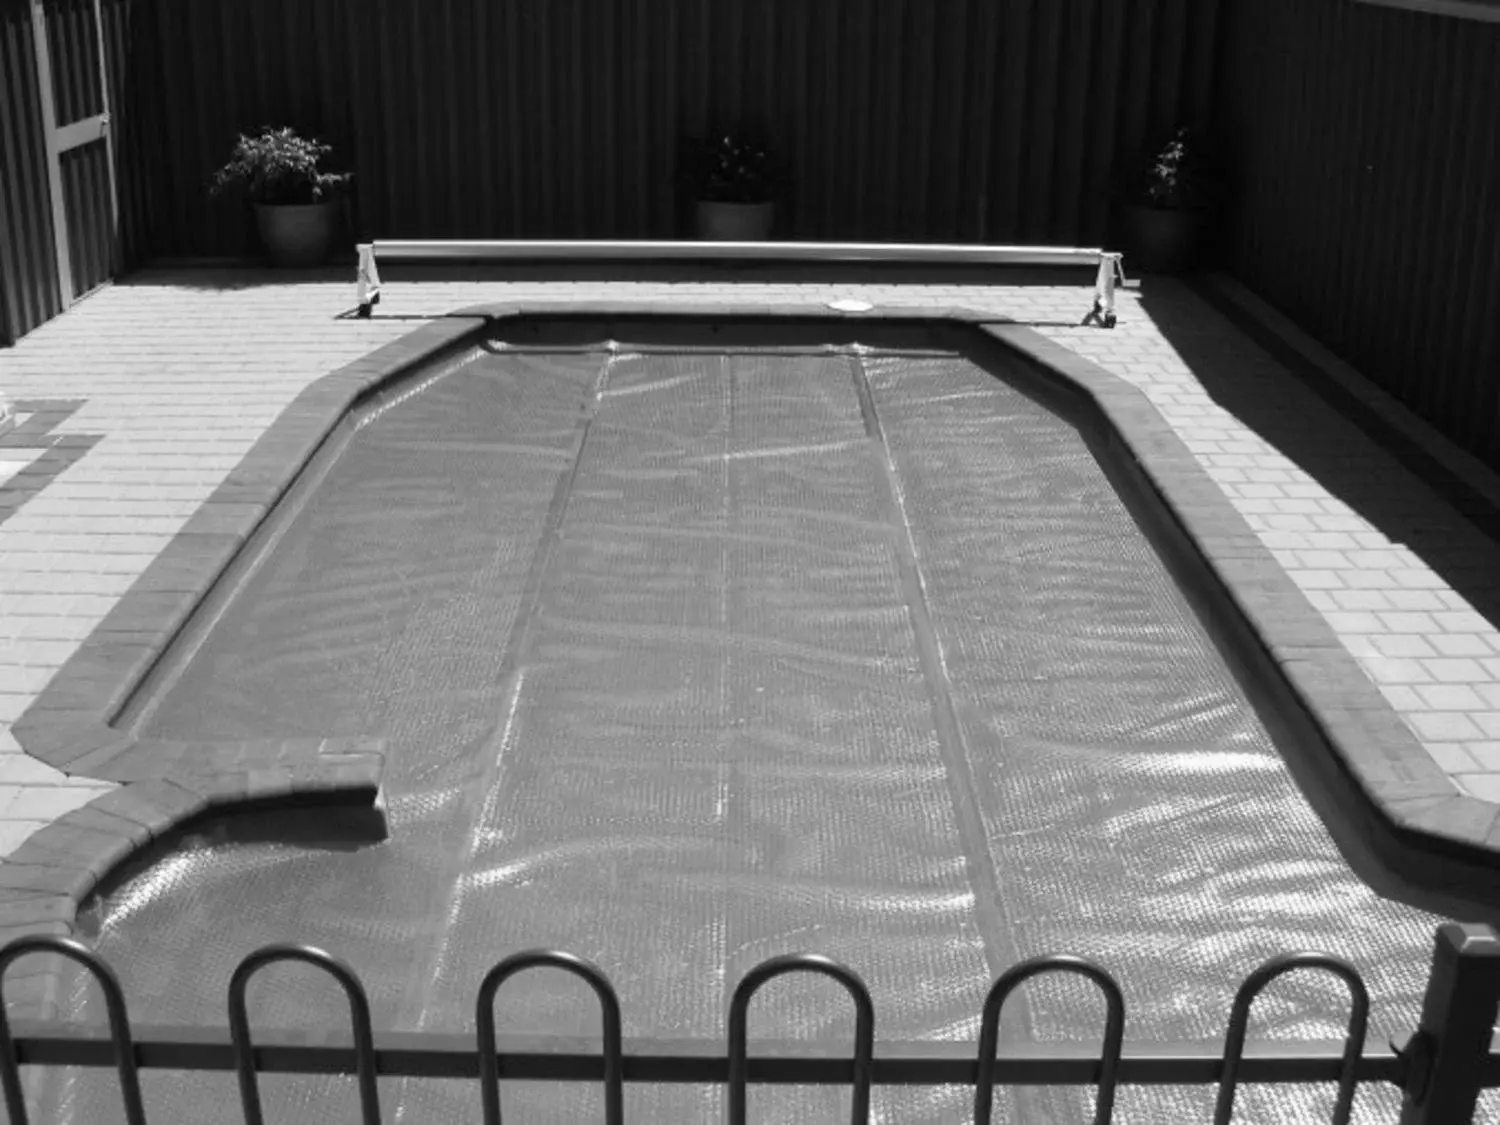
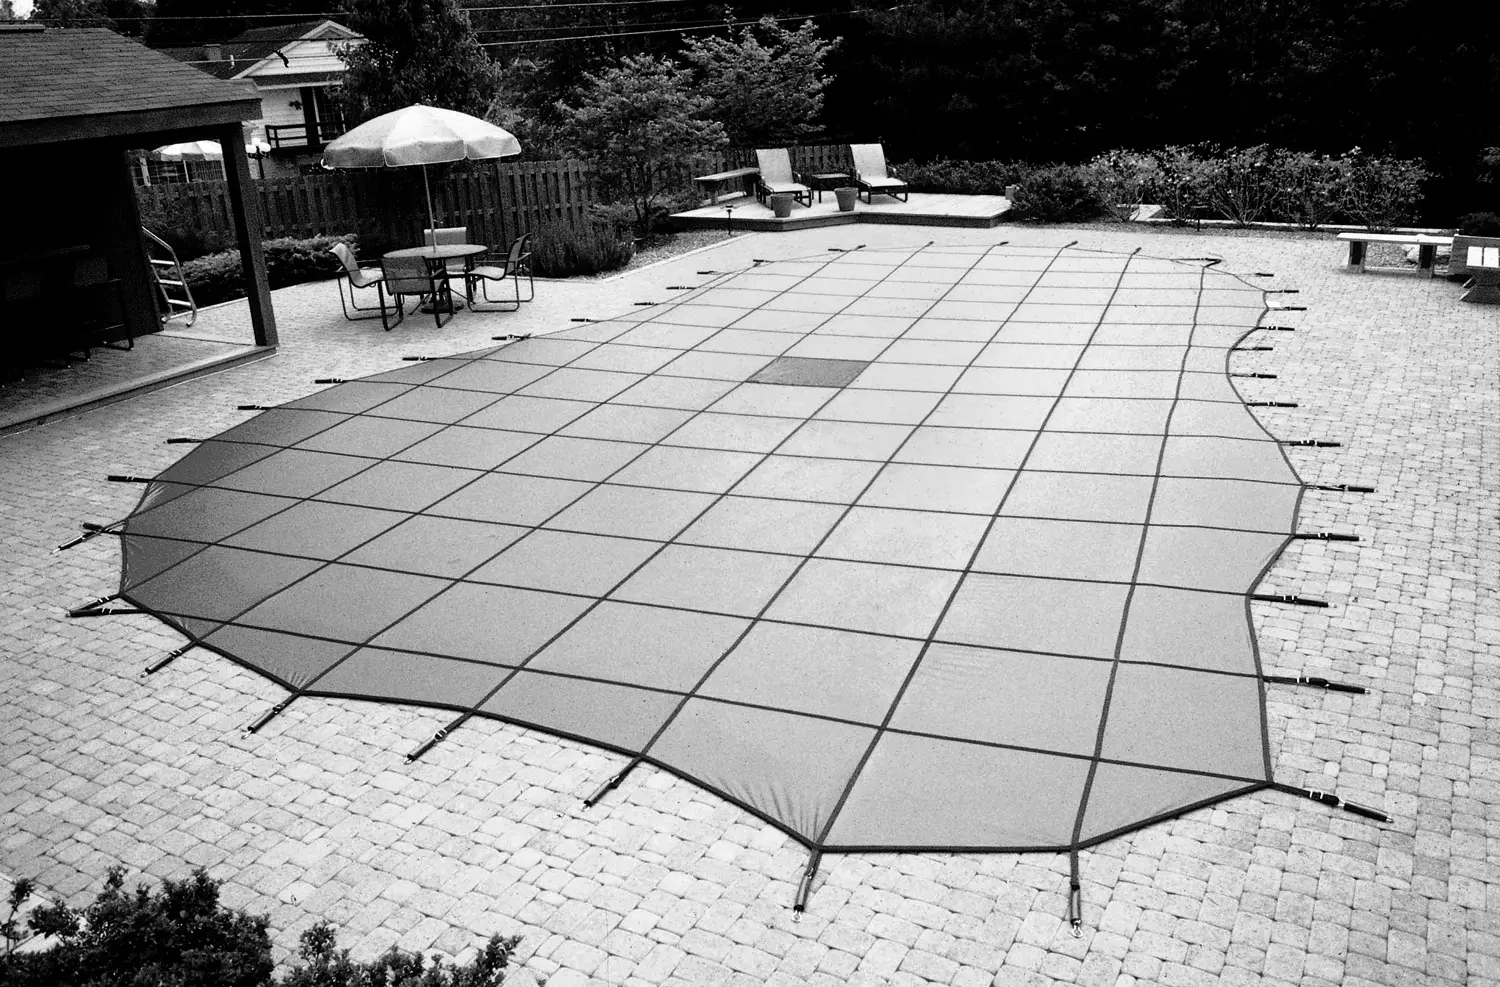
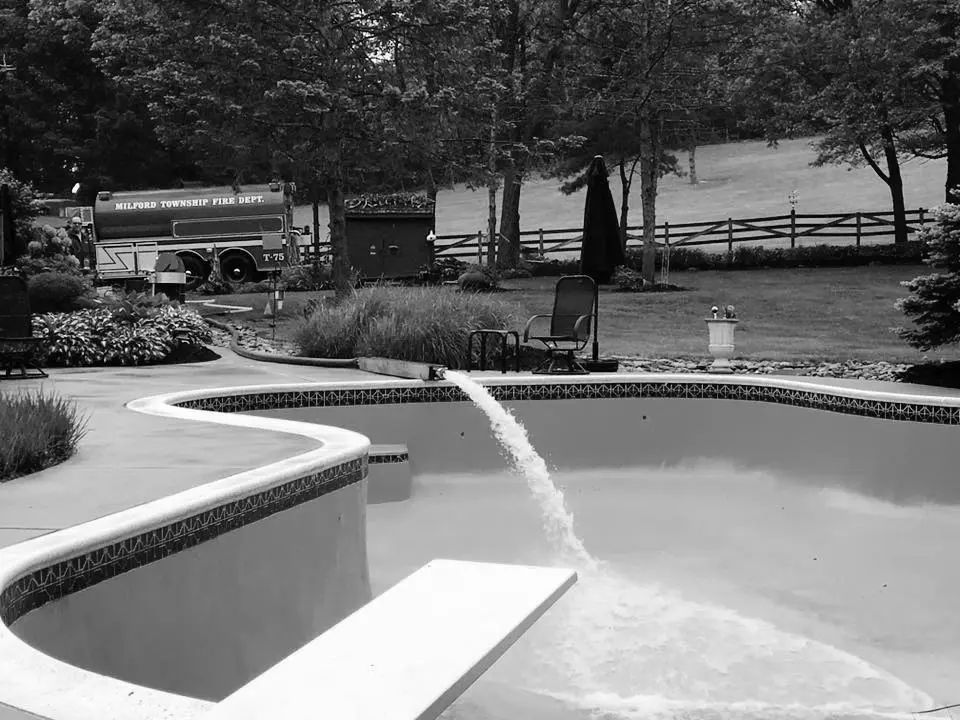
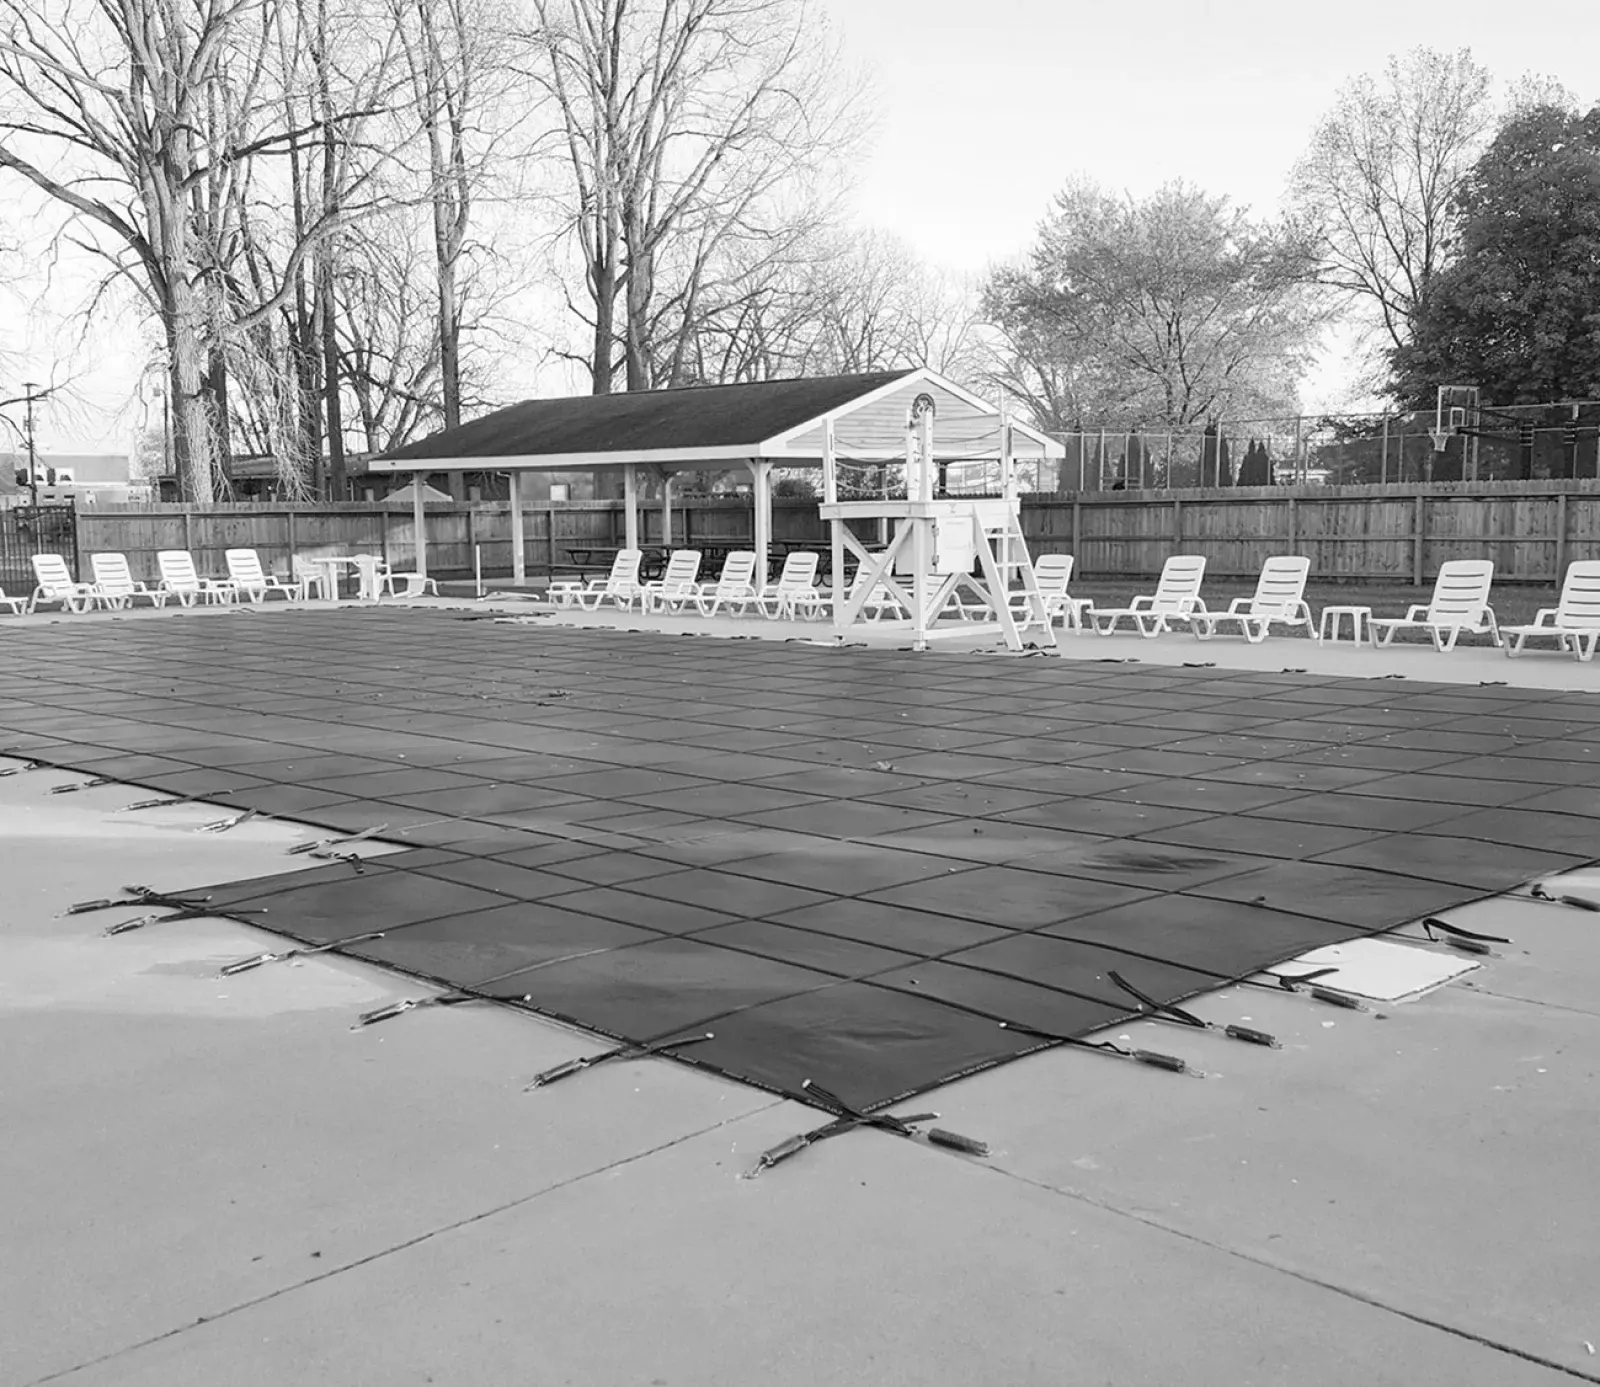
Removing the Pool Cover
Removing the pool cover is the next crucial step. Start by clearing off debris and standing water that have accumulated over the winter.
Using a pump, remove any remaining water pooled on the surface. This step will make the cover light enough to handle without straining.
Carefully lift one end of the cover and gradually remove it, avoiding unnecessary tugging. This careful handling prevents damage to the cover or pool’s delicate edges.
Once removed, clean the cover with mild soap and water. Allow it to dry completely before folding it for storage, ensuring it is ready for use next year.
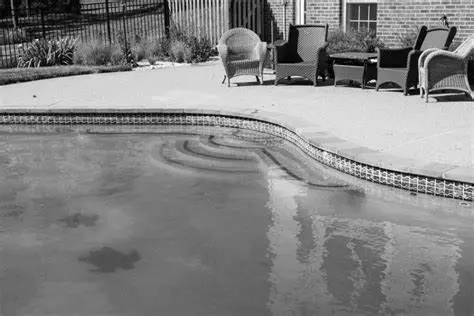
Cleaning and Inspection
With the cover removed, focus on cleaning and inspecting the pool itself. Start by skimming the pool’s surface to remove any floating debris left behind.
Use a pool vacuum to clean the bottom, ensuring you reach every nook and cranny. This step is crucial for removing fine sediments that have settled during winter.
Next, brush the pool walls and floor. Brushing loosens dirt and algae clinging to the surface.
While cleaning, inspect the pool for any structural damage. Look for cracks in the liner, tiles, or concrete. Addressing these issues early can prevent further problems.
Finally, clean the deck and surrounding area. A neat environment makes for a more pleasant swimming experience and reduces the risk of debris entering the pool.
Pool Equipment Setup
Once the pool is cleaned, it’s time to focus on equipment setup. Proper equipment function is vital for an enjoyable swim season. Start by organizing all your tools and pool parts.
Begin with a thorough inspection of all equipment. Check for visible wear and tear on pumps, filters, and heaters. Don’t ignore small fractures or leaks; they might indicate bigger problems.
Next, clean all equipment components. Use a non-abrasive cleaner to remove any grime or mineral deposits accumulated over winter. This ensures that moving parts operate smoothly and efficiently.
It’s also wise to lubricate O-rings and seals. Lubrication prevents unwanted leaks and keeps equipment functioning smoothly. Make sure you use a lubricant compatible with your pool materials.
After cleaning and lubricating, position the equipment correctly. Ensure it’s on stable ground to prevent any imbalance or vibration. Proper placement helps in reducing noise and extends equipment life.
Finally, verify that all connections are secure. Tighten any loose bolts or clamps, ensuring the best performance from your pool equipment.
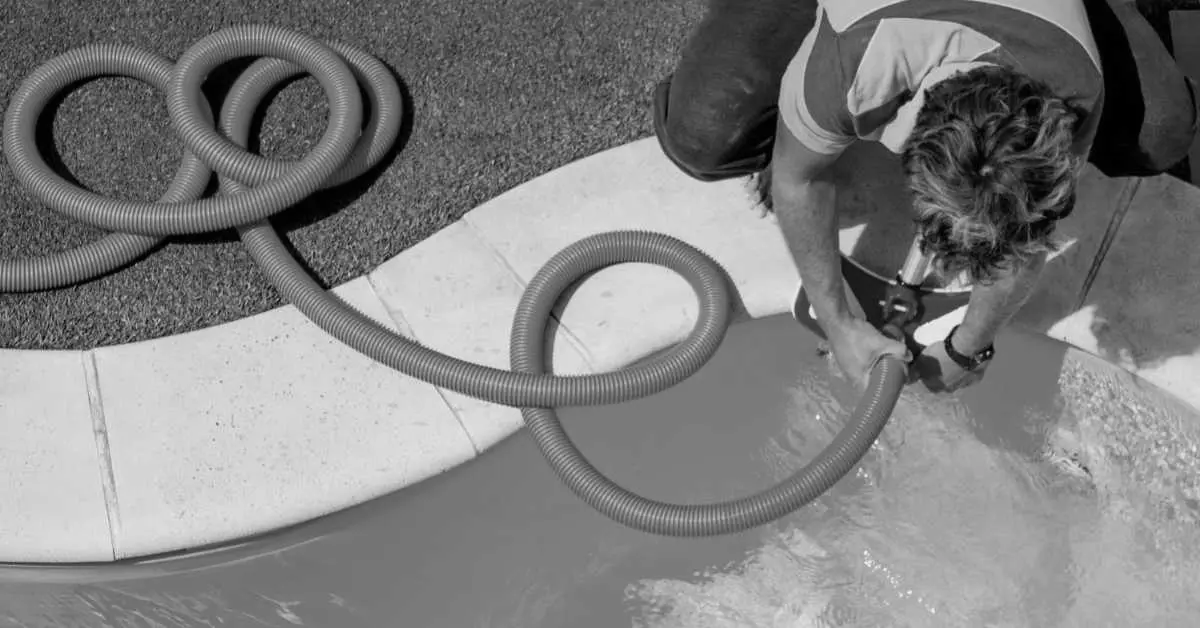
Reconnecting and Checking Pool Equipment
Start reconnecting your equipment by attaching all hoses and clamps. A snug fit prevents water loss and pressure problems during operation. If using a cartridge filter, ensure it’s clean and properly seated.
Once hoses are secured, connect the pump and filter, making sure valves are set in the correct positions. Refer to the manufacturer’s manual if unsure of the setup.
Inspect each unit for signs of wear or leaks before powering up. Pay attention to any cracks in hoses or connections, as these could lead to water loss.
Priming the Pump and Starting the Filter System
Priming the pump is crucial for effective operation. Begin by removing the pump lid and filling the pump basket with water. This step helps create the necessary suction for operation.
Once filled, securely replace the lid, ensuring an airtight seal. Turn on the pump and watch as it pulls water smoothly. Reprime if the flow is irregular.
Next, activate the filter system by checking the pressure gauge reading. Ensure the pressure aligns with recommended levels for optimal filtration. Run the filter continuously for the first 24 hours for thorough water circulation and cleanliness.
Routine checks should follow to maintain steady operation. If you notice any irregular noises or pressure issues, shut off the equipment and investigate immediately. Regular maintenance minimizes potential problems during the swimming season.
Water Quality and Balance
Ensuring water quality is essential to a healthy swimming environment. The balance of chemicals in your pool prevents algae and protects surfaces. After winter, water chemistry might be off-balance. Careful testing and adjustment bring it back to ideal levels.
Start by collecting a water sample using a clean container. Avoid scooping near any debris or surface contaminants. A clean sample ensures accurate test results.
Testing kits or digital testers help assess water conditions. Focus on pH, alkalinity, and calcium hardness levels. Balanced chemistry avoids skin irritation and equipment corrosion.
Once testing identifies imbalances, proceed to make adjustments. Small incremental changes are best. Over-correction can lead to new issues. For best results, adjust one parameter at a time.
After initial adjustments, retest to confirm improvements. Achieving proper balance may require several iterations. Patience plays a key role in this process.
Regular testing throughout the pool season is vital. It helps maintain the delicate balance essential for swimmer safety and pool health. Consistent monitoring reduces the need for larger corrective actions later.
Compiling a maintenance log is beneficial. Record all testing results and chemical additions. This log serves as a useful reference and planning tool.
Pool Water Testing
Testing your pool water is the foundation of water quality management. Begin by selecting a reliable test kit. Kits include strips or liquid reagents to measure various levels.
The first parameter to test is pH. Ideal pH ranges from 7.2 to 7.6. An imbalanced pH can cause swimmer discomfort. Use the instructions provided in your test kit for the most accurate reading.
Next, test the alkalinity. It stabilizes pH levels and should range between 80 to 120 ppm. Low alkalinity can cause pH fluctuation, while high levels may lead to scaling.
Calcium hardness is another critical factor to test. It helps prevent corrosion of metal parts and should be maintained between 200 to 400 ppm. Ensure calcium hardness is balanced to protect your pool’s surfaces and equipment.
Finally, test sanitizers like chlorine or bromine. They must be within recommended levels to effectively kill bacteria. Proper sanitizer levels are key to healthy swimming conditions.
Adjusting Chemical Levels
Correcting chemical imbalances ensures a safe swimming environment. Begin with the pH level, using pool-grade acids or bases for adjustment. If pH is low, add soda ash. For high pH, add muriatic acid.
Once pH is within range, adjust alkalinity if needed. Sodium bicarbonate increases alkalinity levels. Again, add amounts incrementally, retesting after each adjustment.
For calcium hardness, add calcium chloride to raise levels if they are too low. Managing calcium hardness reduces scaling and potential damage to the pool’s surfaces.
In situations where chlorine levels are off, use stabilizers or shock treatments. Granular shocks rapidly raise chlorine levels, ideal after winter storage. Be cautious and follow manufacturer instructions to avoid over chlorination.
Regular testing is crucial after adjustments to ensure levels stay within recommended ranges. Keep a detailed record of any changes to chemicals and their effects on your pool water. This documentation helps in maintaining a clear and balanced swimming environment throughout the season.
Cleaning and Maintenance
Maintaining a clean pool is more than just aesthetics; it ensures swimmers’ health and comfort. A systematic cleaning routine keeps the pool water clear and inviting. Start by removing any large debris from the pool’s surface using a skimmer net.
The next step involves clearing the pool’s floor and walls of dirt and algae. This process requires using a combination of vacuuming and brushing. Dirt and algae accumulations can affect water balance and clarity, so addressing these is crucial.
Consistent maintenance prevents problematic buildups. By adhering to a regular schedule, you avoid larger issues down the line. Moreover, frequent cleaning reduces the need for more intense chemical treatments.
With each cleaning session, take time to assess the condition of the pool’s surfaces and equipment. Regular visual inspections can catch early signs of wear or damage. Addressing minor concerns promptly can prevent more significant repairs later.
A clean pool not only provides health benefits but also enhances the swimming experience. Cleanliness assures swimmers of their safety and comfort, ultimately making pool time more enjoyable.
Skimming, Vacuuming, and Brushing
Effective pool cleaning involves skimming, vacuuming, and brushing. Begin with skimming the pool’s surface for leaves, insects, and floating debris. This helps in maintaining water clarity and reducing load on the filter system.
After skimming, use a pool vacuum to clean the floor. Pool vacuums remove sediment and dirt that settle at the bottom. Ensure you vacuum slowly to avoid stirring debris into the water column.
Brushing the walls and floor removes algae and clinging dirt. Use a pool brush suited to your pool’s surface type to avoid damage. This helps prevent algae buildup and keeps your pool surfaces pristine.
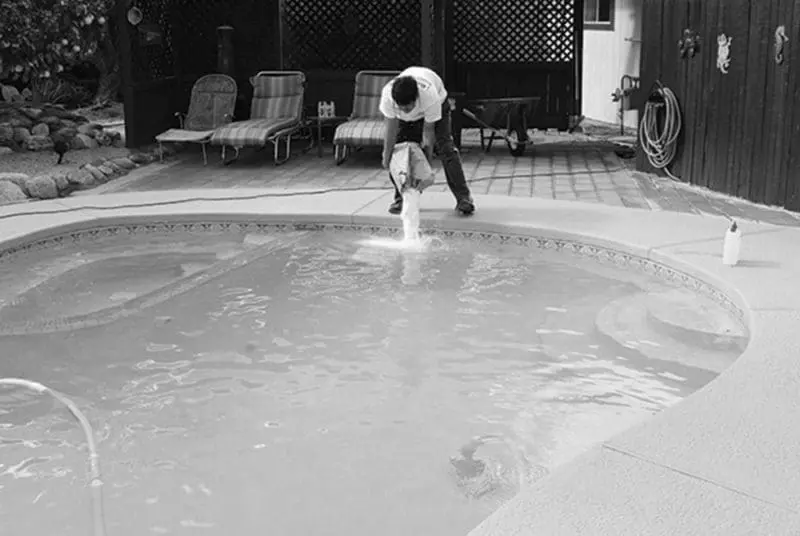
Shock Treatment and Algae Prevention
Shocking the pool is essential for eliminating bacteria and organic matter. After winter, your pool may need a strong dose to ensure all contaminants are removed. Shocking involves adding a concentrated dose of chlorine or non-chlorine oxidizer.
This process sanitizes water and kills algae spores. It should be done when chlorine levels are low and ideally at dusk. Following the shock treatment, let the water circulate.
To further prevent algae, maintain proper sanitizer levels and consider using an algaecide. Algaecides add an extra layer of protection, keeping the water clear and algae-free throughout the season.
Safety and Final Touches
As you near the completion of your pool opening process, focusing on safety is critical. Safety measures protect users and ensure a worry-free swimming season. Begin by checking all safety equipment.
Verify that life rings, fences, and pool alarms are in top condition. Safety checks should include fencing around the pool to prevent unauthorized access. Locks on gates and doors leading to the pool area add an extra layer of security.
Ensure the pool deck is free from clutter and slippery surfaces are addressed. Pay attention to outdoor lighting, especially around the pool area, for visibility during evening swims. These steps safeguard against accidents and enhance pool enjoyment.
Final touches around the pool area can transform it into an inviting space. Arrange seating, add umbrellas for shade, and ensure the landscaping complements the pool setting. A well-organized pool area improves safety and aesthetics.
Ensuring Swimming Pool Safety
Safety is not only about physical barriers; it’s about awareness and preparation. Educate those who will use the pool about safety rules. Ensuring everyone knows how to swim and supervises children prevents accidents.
Regularly check and adjust chemical levels to ensure they’re safe for swimmers. Safe chemical levels prevent skin irritations and maintain water clarity. Prioritize routine checks to guarantee ongoing safety.
Final Inspection and Enjoying Your Pool
A final inspection is necessary before declaring your pool ready for use. Check that all equipment is functioning as expected. Inspect the water for clarity and optimal chemical balance.
Once satisfied, your pool is ready for enjoyment. Invite family and friends for a fun opening celebration. Remember, responsible enjoyment ensures safety and prolongs the life of your pool.
Now that you’re prepared, savor each moment by the poolside.
Additional Tips and Maintenance Schedule
Regular pool maintenance ensures your swimming pool remains a safe and enjoyable haven. Adopt a routine to keep your pool in peak condition throughout the season. Consistency helps prevent major issues and extends the life of your equipment.
A weekly schedule of tasks can streamline maintenance. Regular skimming, brushing, and vacuuming keep your pool clean. These activities prevent dirt buildup and algae, maintaining water clarity.
In addition to routine cleanings, equipment checks are crucial. Inspect your pumps, filters, and heaters for efficient operation. Also, monitor water levels and adjust them as needed to ensure proper circulation.
To maintain your pool efficiently, consider the following checklist:
- Weekly Tasks: Skim, brush, and vacuum the pool; test water chemistry.
- Monthly Tasks: Inspect pumps and filters; check safety equipment.
- Seasonal Tasks: Deep clean pool tiles; refresh landscaping around the pool.
Ongoing Pool Care and Troubleshooting
Effective pool care hinges on regular monitoring. Testing your pool water weekly helps maintain chemical balance. Immediate attention to abnormal levels prevents issues from escalating.
When problems arise, prompt troubleshooting is essential. Address leaks, filter issues, or chemical imbalances quickly. Timely interventions avert more severe complications, sustaining your pool’s health.
Seasonal Pool Maintenance Tips
Change your pool maintenance routine as seasons shift. Different weather conditions influence how you care for your pool. In summer, increased use demands more frequent cleaning and chemical testing.
As temperatures drop, adjust chemical levels to prevent water imbalances. Prepare for cooler months by ensuring equipment can handle lower temperatures. Seasonal adjustments keep your pool safe and energy-efficient throughout the year.
Conclusion
Opening a swimming pool after winter may seem daunting, but with the right steps, it becomes manageable. By carefully preparing, cleaning, and balancing your pool, you set the foundation for a safe and enjoyable swimming season.
Commit to ongoing maintenance and remain vigilant about pool safety. Consistency not only preserves the pool’s condition but also ensures a fun and relaxing environment for you and your family. With this guide, you’re equipped to welcome the warm months ahead with confidence and a sparkling pool.
FAQs
What is the best time to open my pool after winter?
The ideal time to open your pool is when the temperatures consistently stay above freezing and spring blooms. This prevents algae growth and makes for easy maintenance.
How long does the pool opening process take?
The entire process can take a few days, depending on your pool’s condition. Allow time for cleaning, equipment setup, water balancing, and safety checks.
Printable Pool Opening Checklist
Organize your tasks with a handy checklist for opening your swimming pool. Staying organized ensures you don’t miss any essential steps. Below is a basic checklist to get you started:
- Remove pool cover and store it properly.
- Inspect pool for visible damage.
- Reconnect and check all pool equipment.
- Test and balance water chemistry.
- Clean and vacuum the pool.
- Perform shock treatment.
- Verify safety equipment.