Whether you’re a seasoned motorcyclist or a beginner, this guide will help you achieve a mirror-like finish. The process is not just about improving looks; it’s an investment in your motorcycle’s performance and longevity. By dedicating some time and effort, you can keep your bike in pristine condition while also increasing its resale value.
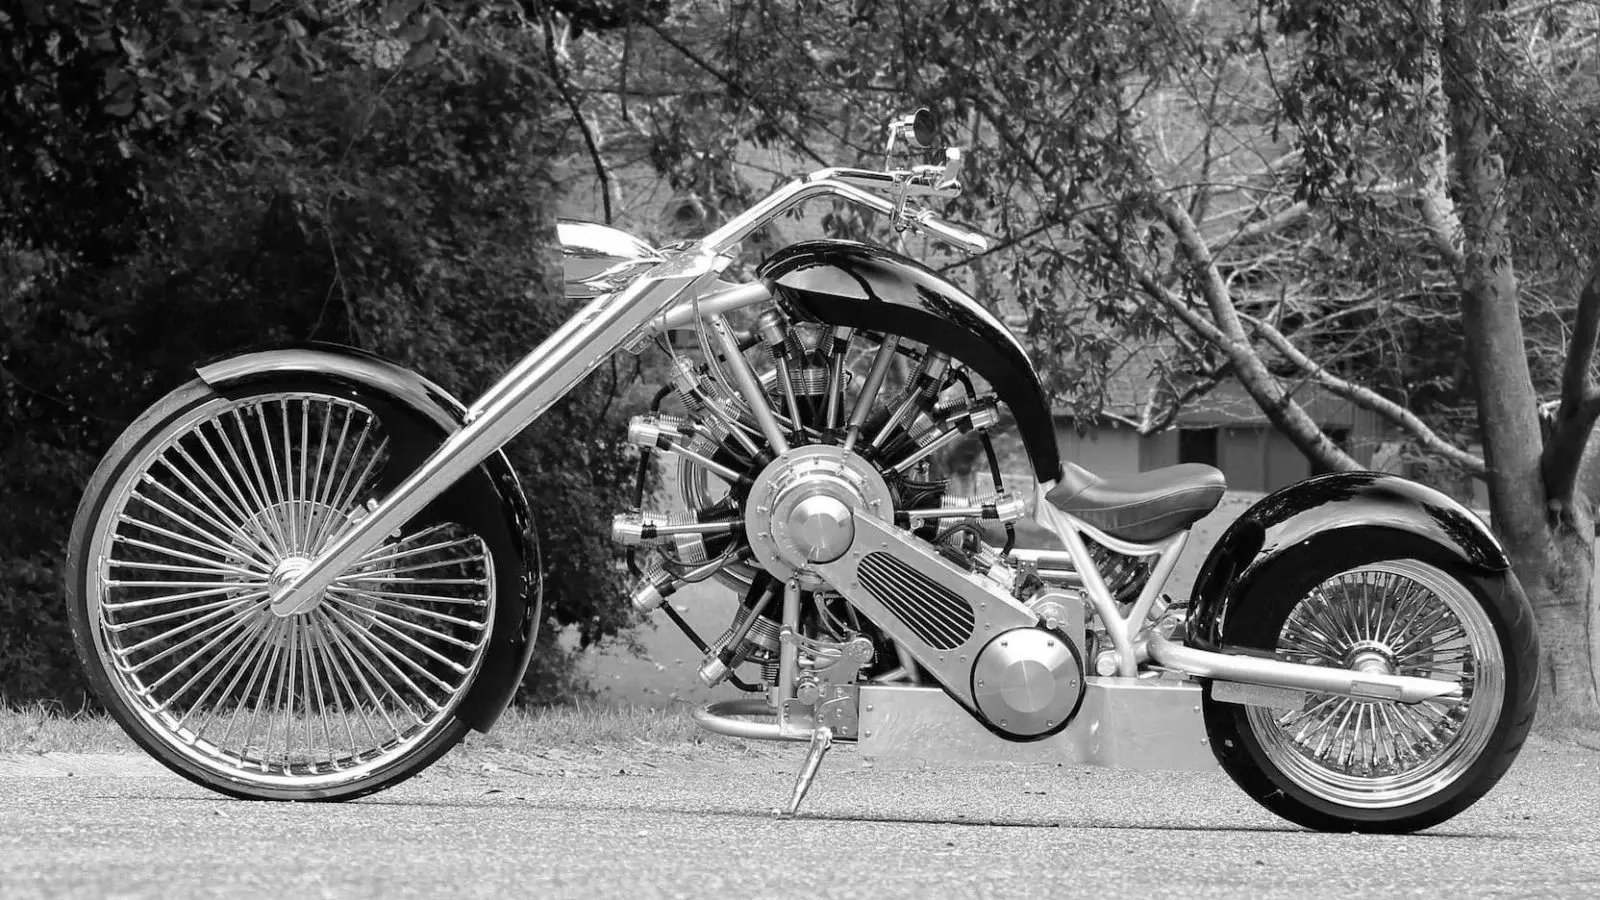
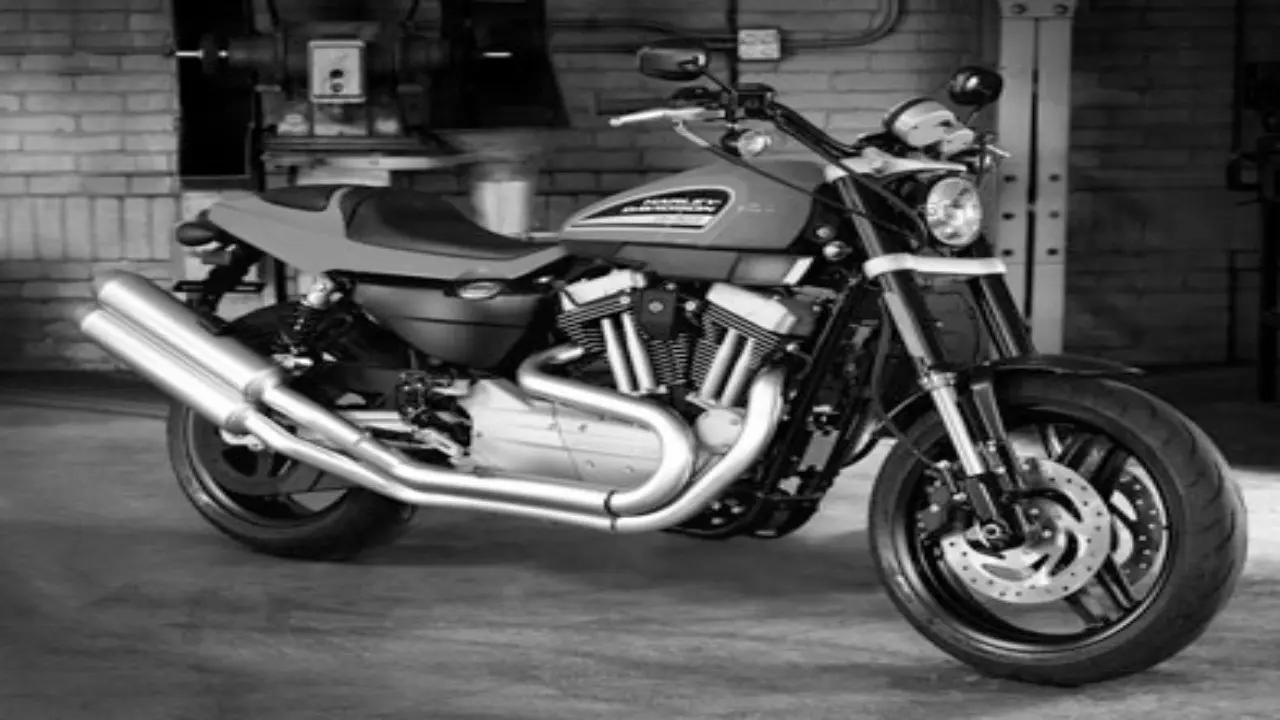
Why Polish Your Motorcycle’s Aluminum Parts?
Polishing the aluminum on your motorcycle is more than just about appearances. Here’s why it’s important:
- Corrosion Prevention: Aluminum parts are prone to oxidation and corrosion over time. Polishing helps remove the oxidation layer, protecting the metal beneath. This protective layer acts as a shield, prolonging the life of your motorcycle’s components and ensuring they remain rust-free. Routine polishing can prevent costly repairs and replacements.
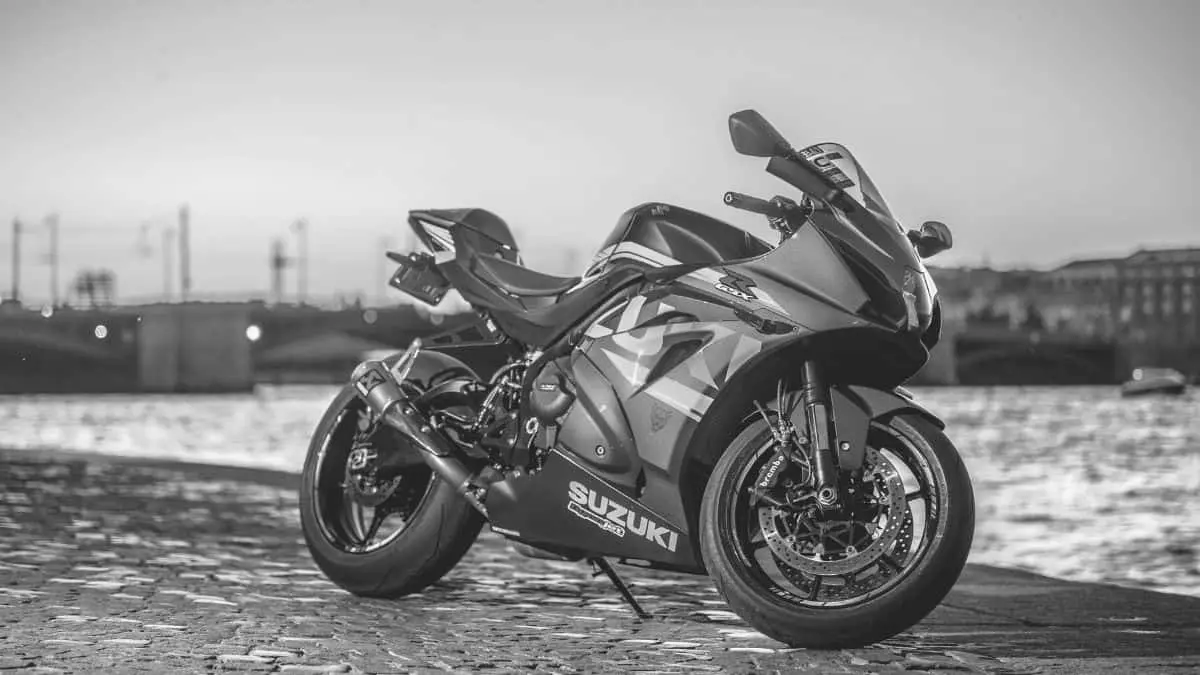
- Improved Aesthetics: A polished aluminum surface gleams and gives your bike a fresh, new look. The enhanced shine can dramatically transform the appearance of your motorcycle, making it stand out on the road. Whether you’re displaying it at a motorcycle show or simply taking it for a spin, a polished bike commands attention.
- Increased Resale Value: A well-maintained motorcycle can fetch a higher price if you decide to sell it. Potential buyers often look for signs of care and maintenance, and polished aluminum parts can signal that the bike has been well looked after. This small investment in maintenance can pay off significantly when it comes time to sell.
- Maintenance of Functionality: Keeping aluminum parts polished ensures they continue to operate smoothly without the hindrance of rust or corrosion. Polished parts are less likely to bind or seize due to rust, ensuring your motorcycle runs smoothly. This preventive measure helps maintain optimal performance and safety.
Tools and Materials Needed
Before you start the polishing process, gather the following tools and materials:
- Aluminum polish or metal polish: Choose a high-quality polish specifically designed for aluminum to ensure the best results. These products contain ingredients that bring out the shine and protect the metal surface.
- Sandpaper (various grits: 400, 800, 1200, and 2000): Different grits are necessary for gradually smoothing the surface before polishing. Starting with coarser grits removes imperfections, while finer grits prepare the surface for a flawless finish.
- A rotary tool with a buffing wheel: This tool helps achieve a professional-grade shine, especially on larger surfaces or intricate areas. It speeds up the process and ensures even polishing across the surface.
- Microfiber cloths: Soft and non-abrasive, these cloths are perfect for applying polish and buffing the aluminum without scratching it. They are also excellent for final touch-ups and removing excess polish.
- Protective gloves: Wearing gloves protects your hands from harsh chemicals and metal particles. They also help maintain a secure grip on tools and materials.
- Masking tape: Useful for protecting non-aluminum parts from scratches and polish stains. It ensures that only the intended areas are polished.
- Cleaning solution: A gentle cleaner helps remove dirt and grime before polishing. It’s essential to start with a clean surface for the best results.
- Water and soft-bristle brush: These are used for rinsing and scrubbing the aluminum parts during the cleaning phase. They help remove loose debris and prepare the surface for sanding.
Preparation: Cleaning and Masking
Step 1: Clean the Aluminum Surface
Begin by cleaning the aluminum parts to remove any dirt, grease, or grime. Use a gentle cleaning solution and a soft-bristle brush to scrub the surface. Rinse thoroughly with water and dry with a clean cloth. This step is crucial as it ensures that no debris interferes with the sanding and polishing process. A spotless surface allows for even sanding and polishing, leading to a superior finish.

Step 2: Mask Areas Around the Aluminum Parts
To prevent damage to non-aluminum areas, use masking tape to cover parts surrounding the engine and forks. This will protect painted surfaces and other materials from accidental scratches or polish stains. Masking is especially important around delicate areas where polish could cause discoloration or damage. Take your time to carefully apply the tape, ensuring all nearby surfaces are adequately covered.
Sanding the Aluminum
Step 3: Start with Coarse Grit Sandpaper
Use 400-grit sandpaper to sand the aluminum surface. This will remove the top layer of oxidation and any minor scratches. Sand in a circular motion and keep the surface wet to reduce friction and avoid overheating the metal. Keeping the surface wet also helps to minimize dust and allows the sandpaper to glide smoothly, reducing the risk of uneven sanding.
Step 4: Progress to Finer Grit Sandpaper
Gradually work your way up to finer grits: 800, 1200, and finally, 2000. Each step will further smooth out the aluminum, preparing it for the polishing phase. Ensure that the entire surface is evenly sanded before moving to the next grit. This gradual sanding process creates a flawless foundation for polishing, ensuring the final result is as smooth and reflective as possible.
Polishing the Aluminum
Step 5: Apply the Aluminum Polish
Once sanding is complete, apply a small amount of aluminum polish onto a microfiber cloth. Rub the polish onto the aluminum surface using a circular motion. This process will bring out the shine and remove any remaining fine scratches. The polish contains micro-abrasive particles that help refine the surface, enhancing its reflective quality.
Step 6: Use a Rotary Tool with a Buffing Wheel
For a high-gloss finish, attach a buffing wheel to a rotary tool. Carefully buff the aluminum surface using a low-speed setting to avoid overheating. The rotary tool will help achieve a more consistent shine and reach into crevices that are difficult to polish by hand. It’s essential to move the tool steadily across the surface to prevent uneven polishing.
Step 7: Final Buffing by Hand
After using the rotary tool, perform a final buff by hand with a clean microfiber cloth. This step ensures that any residual polish is removed and the surface is left with a brilliant shine. Hand buffing allows for a final inspection of the surface, ensuring that every part of the aluminum is polished to perfection.
Maintenance Tips for Polished Aluminum
Regular Cleaning
To maintain the polished look, regularly clean the aluminum parts with a mild soap and water solution. Avoid harsh chemicals that can dull the finish. Regular cleaning prevents the build-up of dirt and grime, which can mar the polished surface and reduce its shine.
Protective Coating
Consider applying a protective wax or sealant to the polished aluminum. This will create a barrier against moisture and dirt, prolonging the shine and preventing oxidation. A good protective coating can significantly reduce the frequency of re-polishing needed.
Periodic Re-Polishing
Over time, the aluminum may lose its luster. Re-polish the surface periodically using the steps outlined above to maintain its gleaming appearance. Regular re-polishing keeps your motorcycle looking its best and ensures the protective benefits of the polish are maintained.
Safety Considerations
- Wear Protective Gear: Use gloves to protect your hands from polish and metal particles. Eye protection is also recommended when using a rotary tool. Safety gear is crucial to prevent injuries and exposure to potentially harmful substances.
- Ventilation: Ensure you work in a well-ventilated area to avoid inhaling fumes from the polish. Good airflow helps disperse any harmful vapors and keeps the working environment comfortable.
- Tool Handling: Be cautious when using power tools. Follow the manufacturer’s instructions to prevent accidents. Proper handling ensures not only your safety but also the quality of the polishing work.
Conclusion
Polishing the aluminum engine and forks on your motorcycle is a rewarding task that enhances both the look and longevity of your bike. By following these steps, you can achieve a professional finish right at home. Remember, the key to maintaining that mirror-like shine is regular upkeep and attention to detail. With consistent care, your motorcycle will continue to turn heads and provide reliable performance for years to come. Happy polishing!